How to create an event on Shared Moments
A complete visual walkthrough of every step — from naming your event to sharing the QR code with guests. Takes under 5 minutes.
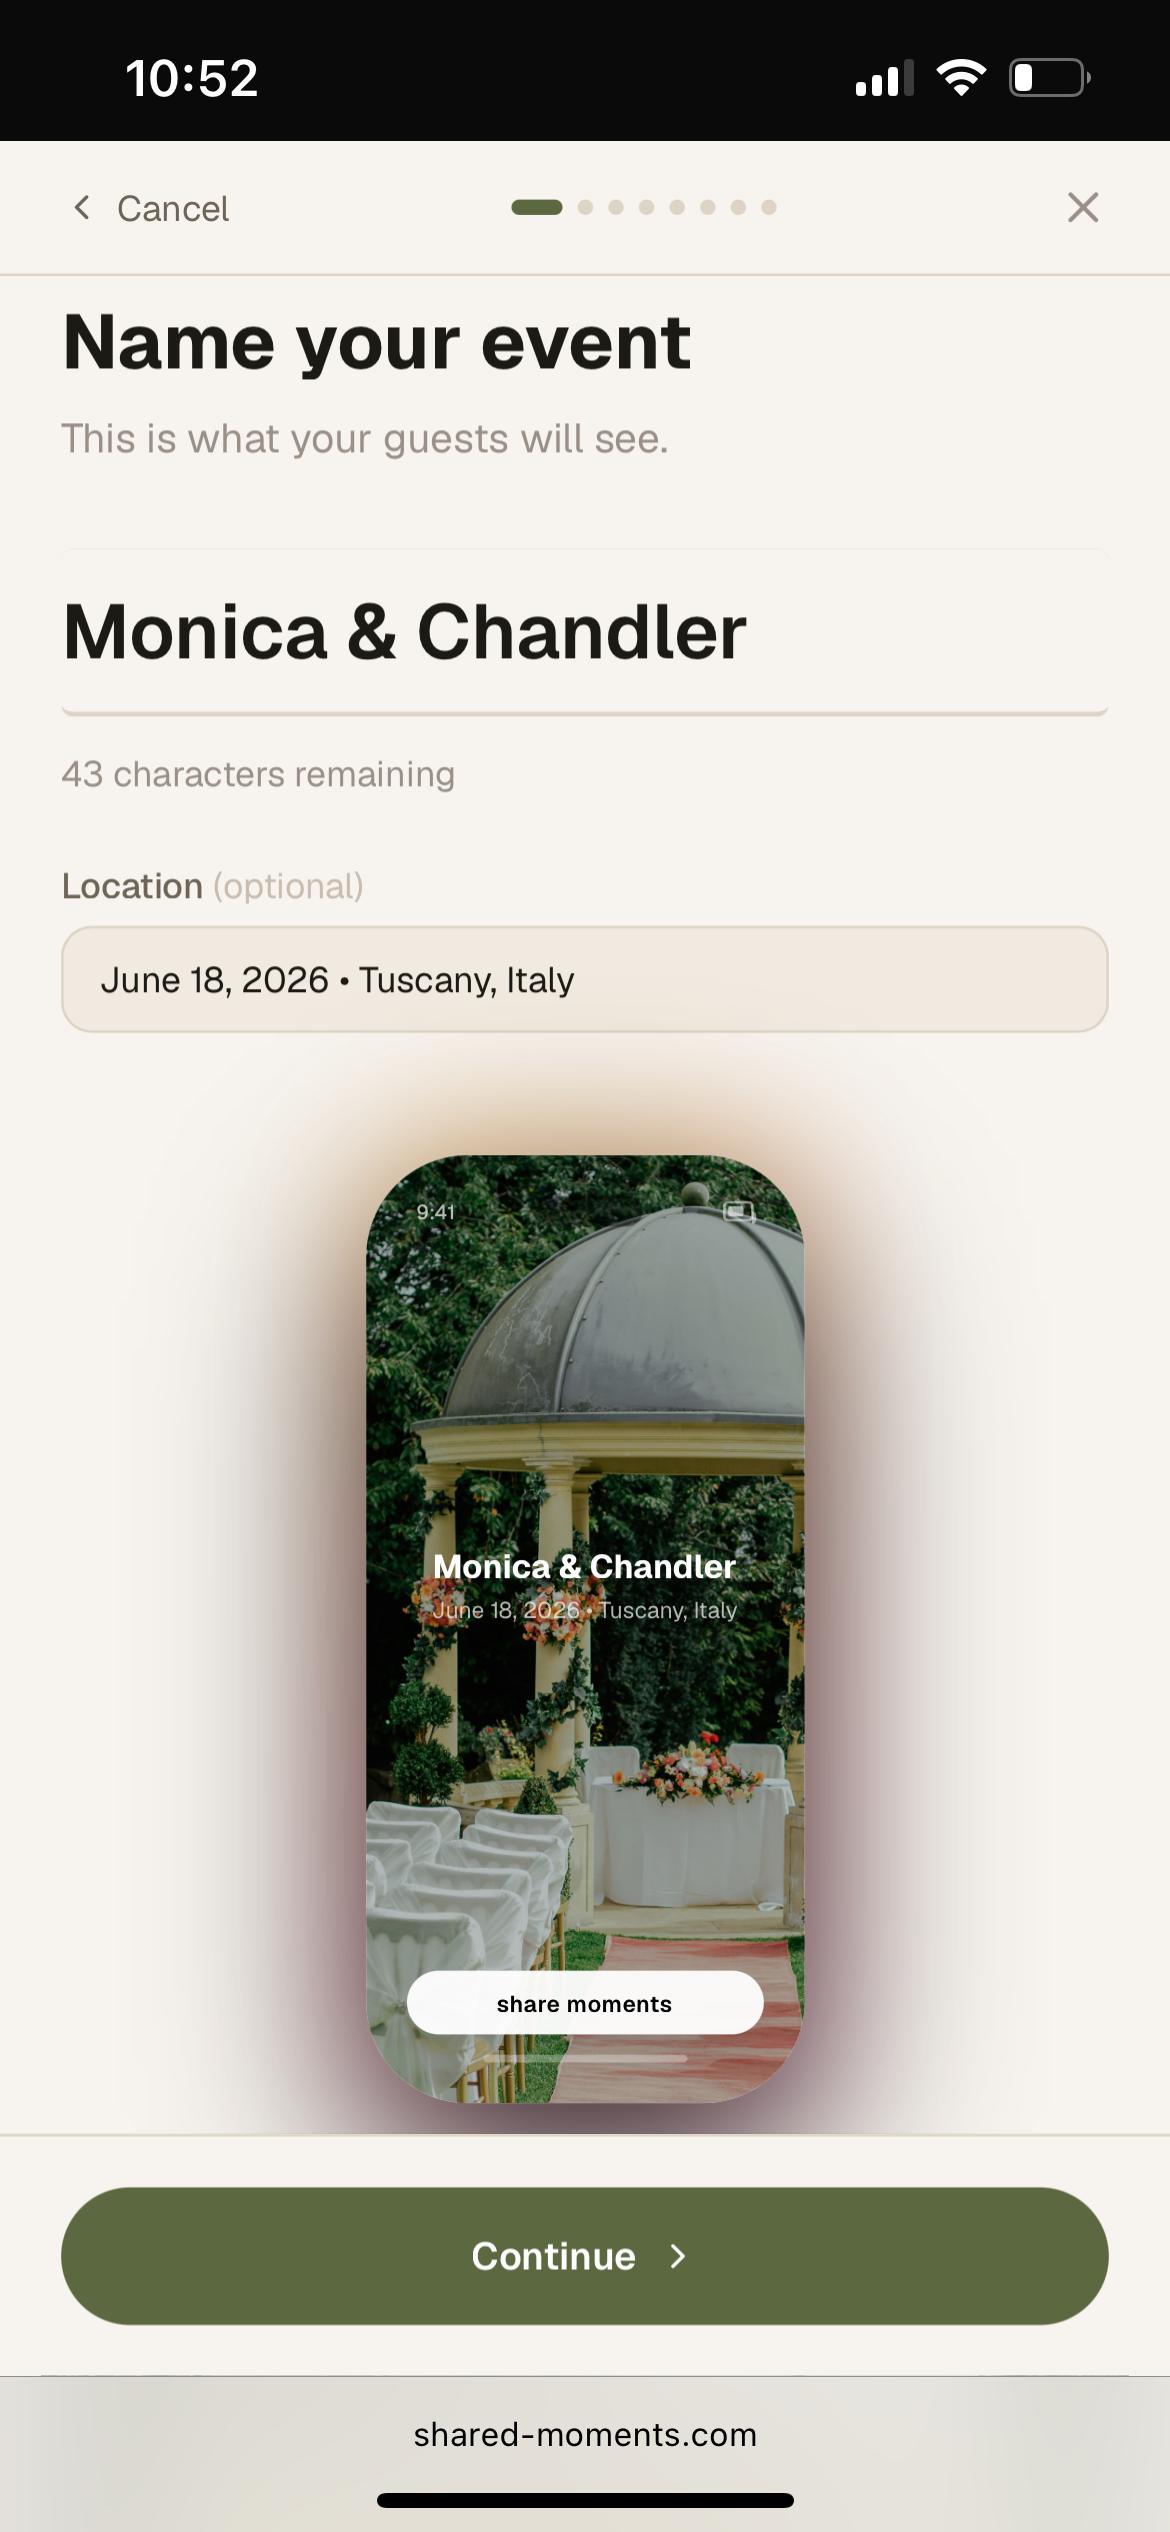
Name your event
Start by giving your event a name — this is exactly what guests will see when they open your link. Add an optional location to give them context, like "June 18, 2026 · Tuscany, Italy". You can see a live preview of how the cover will look as you type.
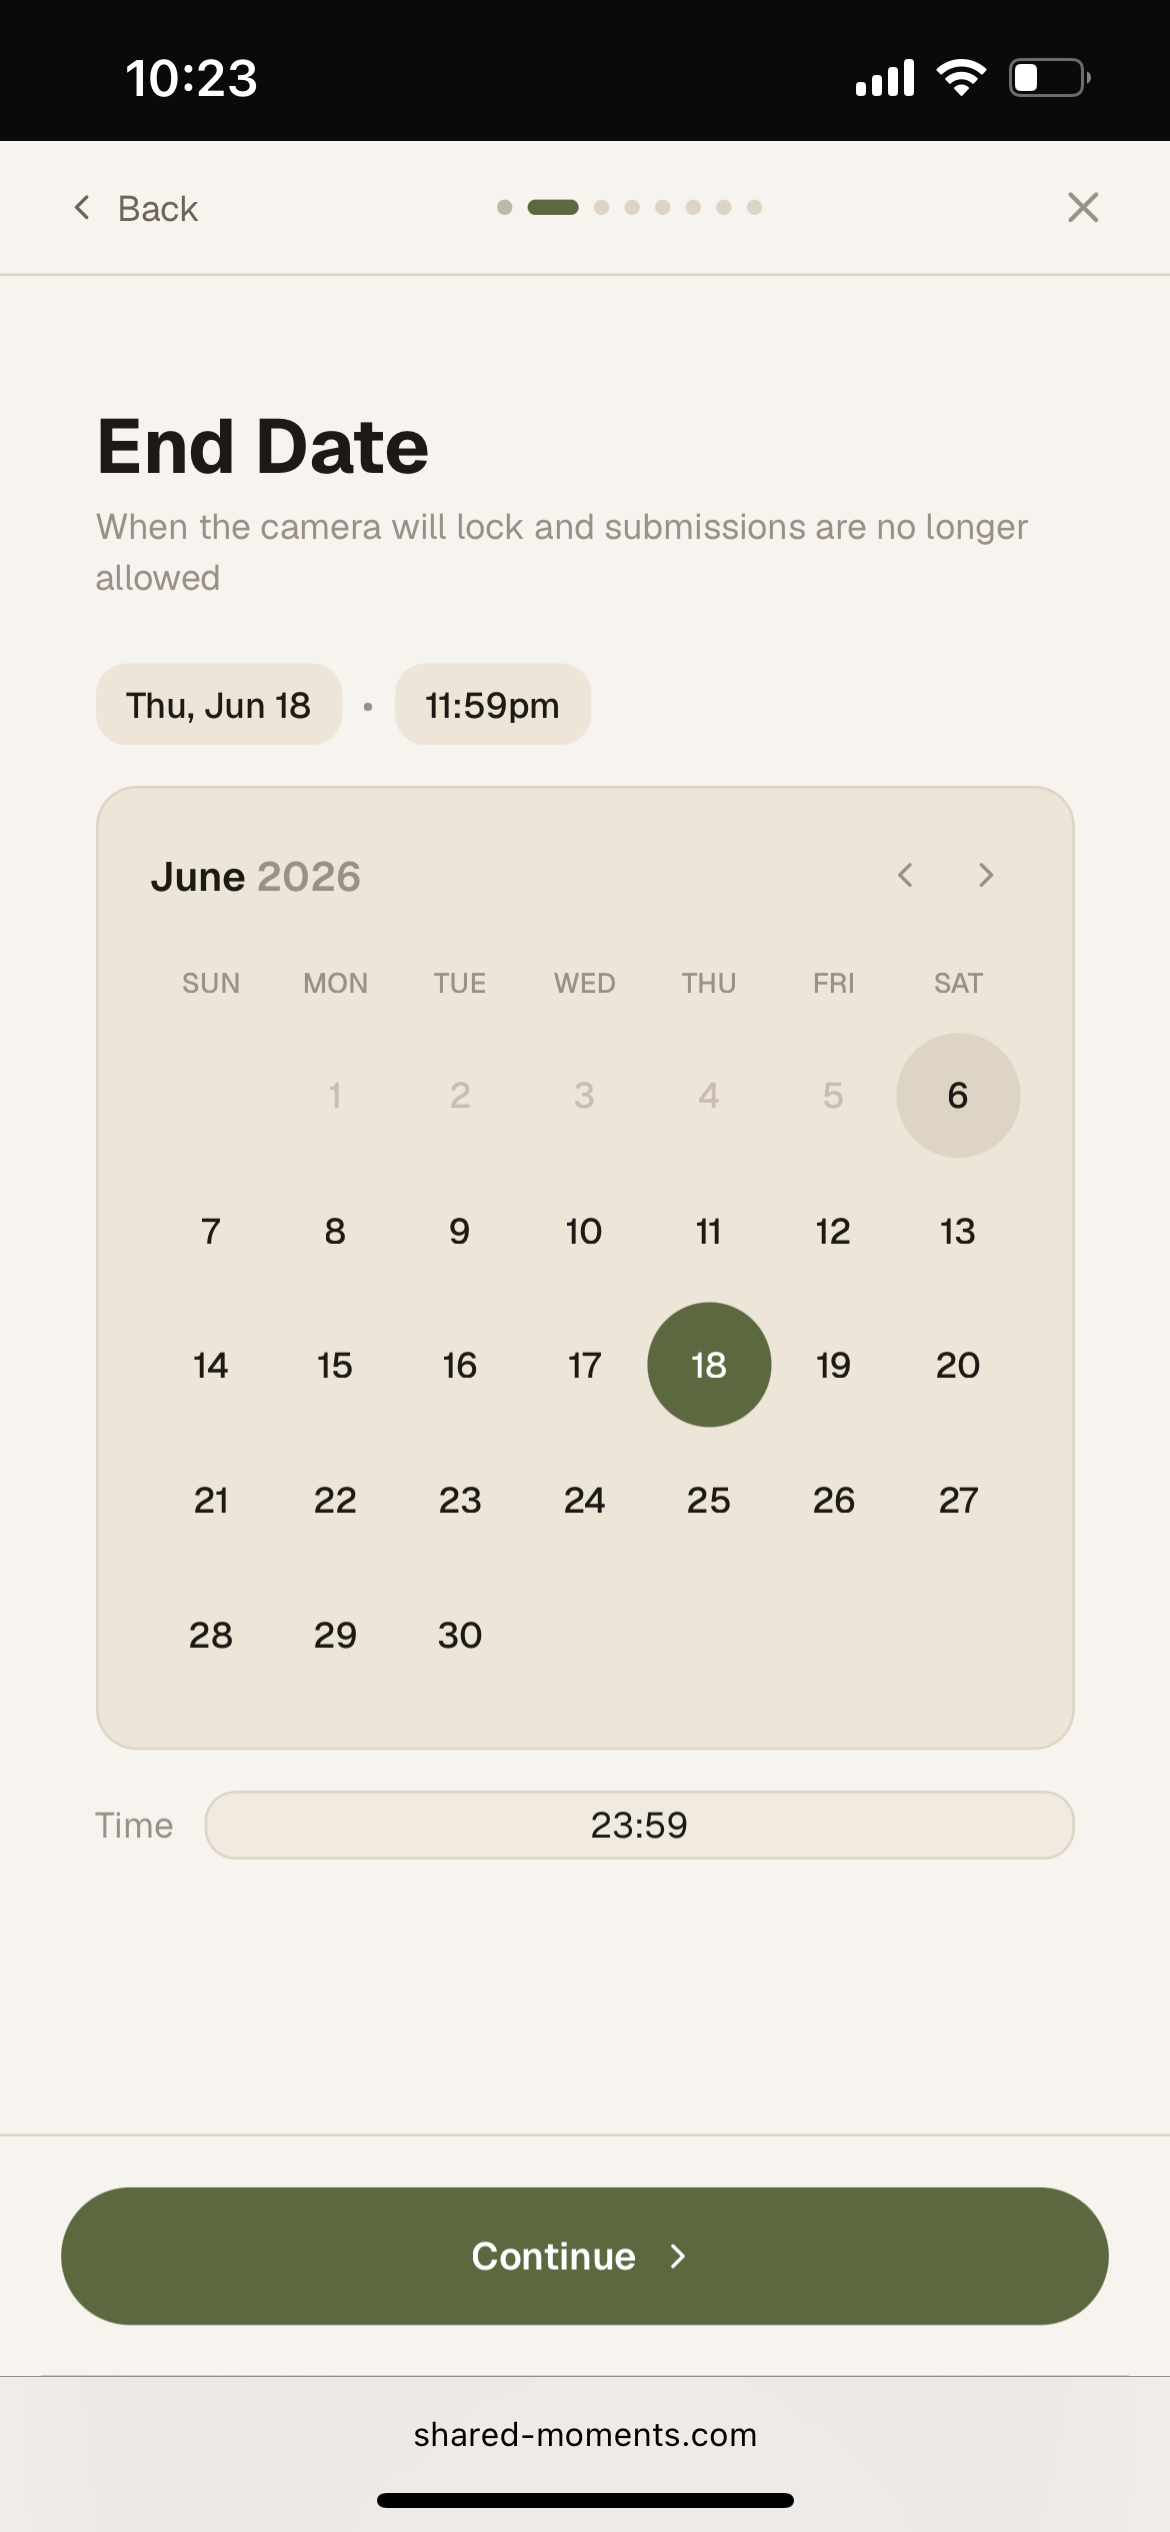
Set an end date
Choose when the camera closes. Once this date and time passes, guests can no longer submit new photos. A day or two after your event works well — it gives everyone a chance to upload shots they took.
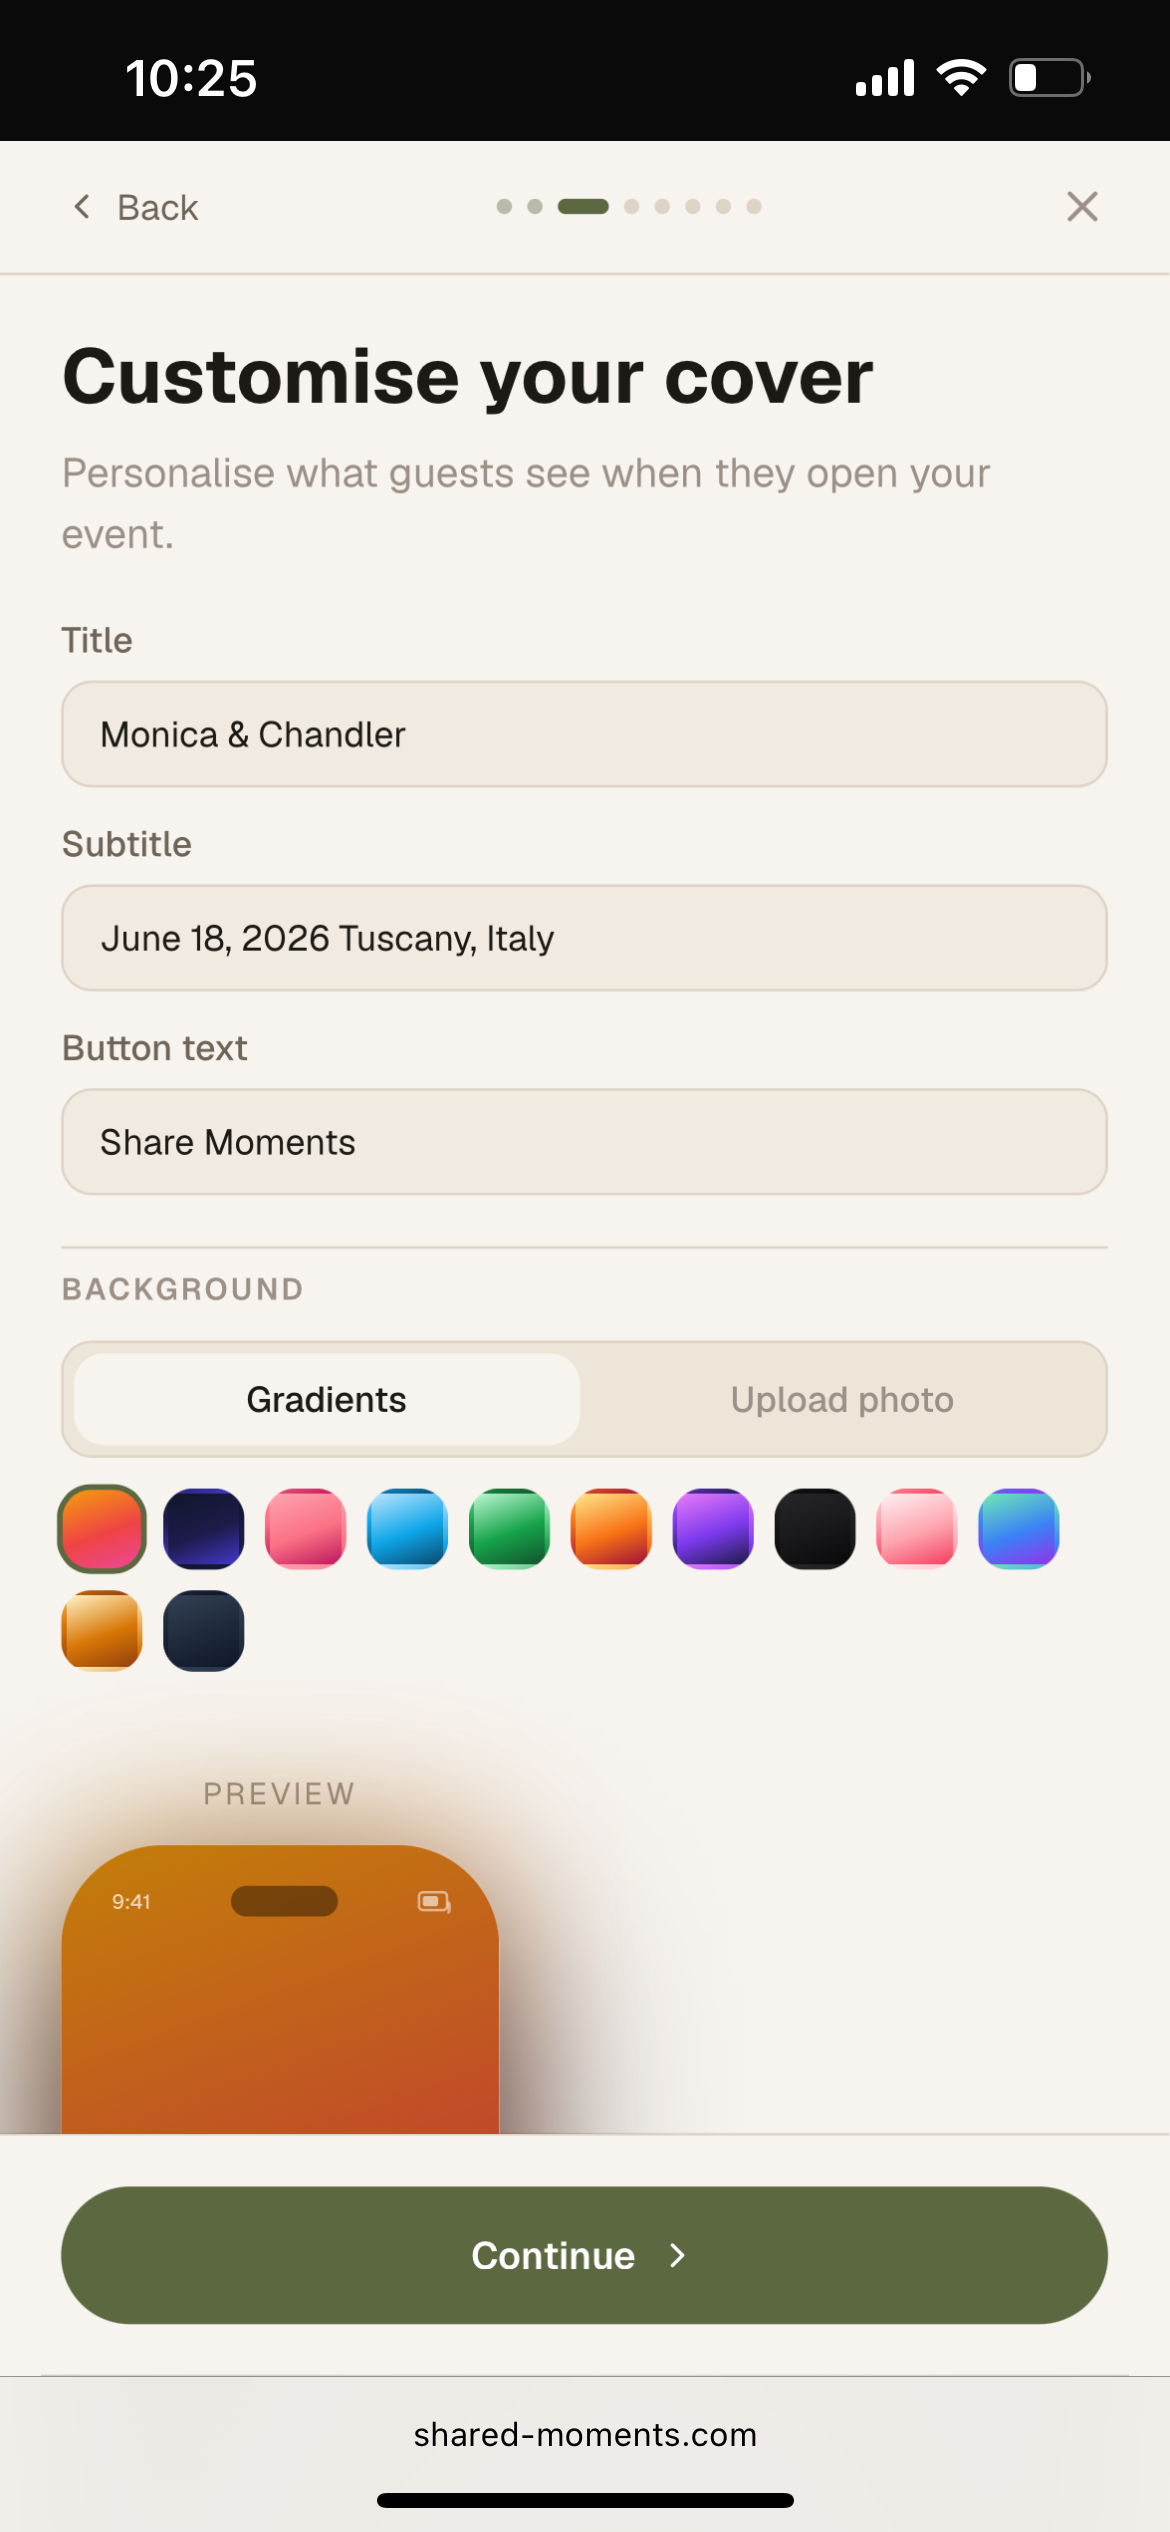
Customise your cover
Design the screen guests see the moment they open your event. Set a title, subtitle, and button text. Choose a gradient background from the swatches, or switch to "Upload photo" to use your own image.
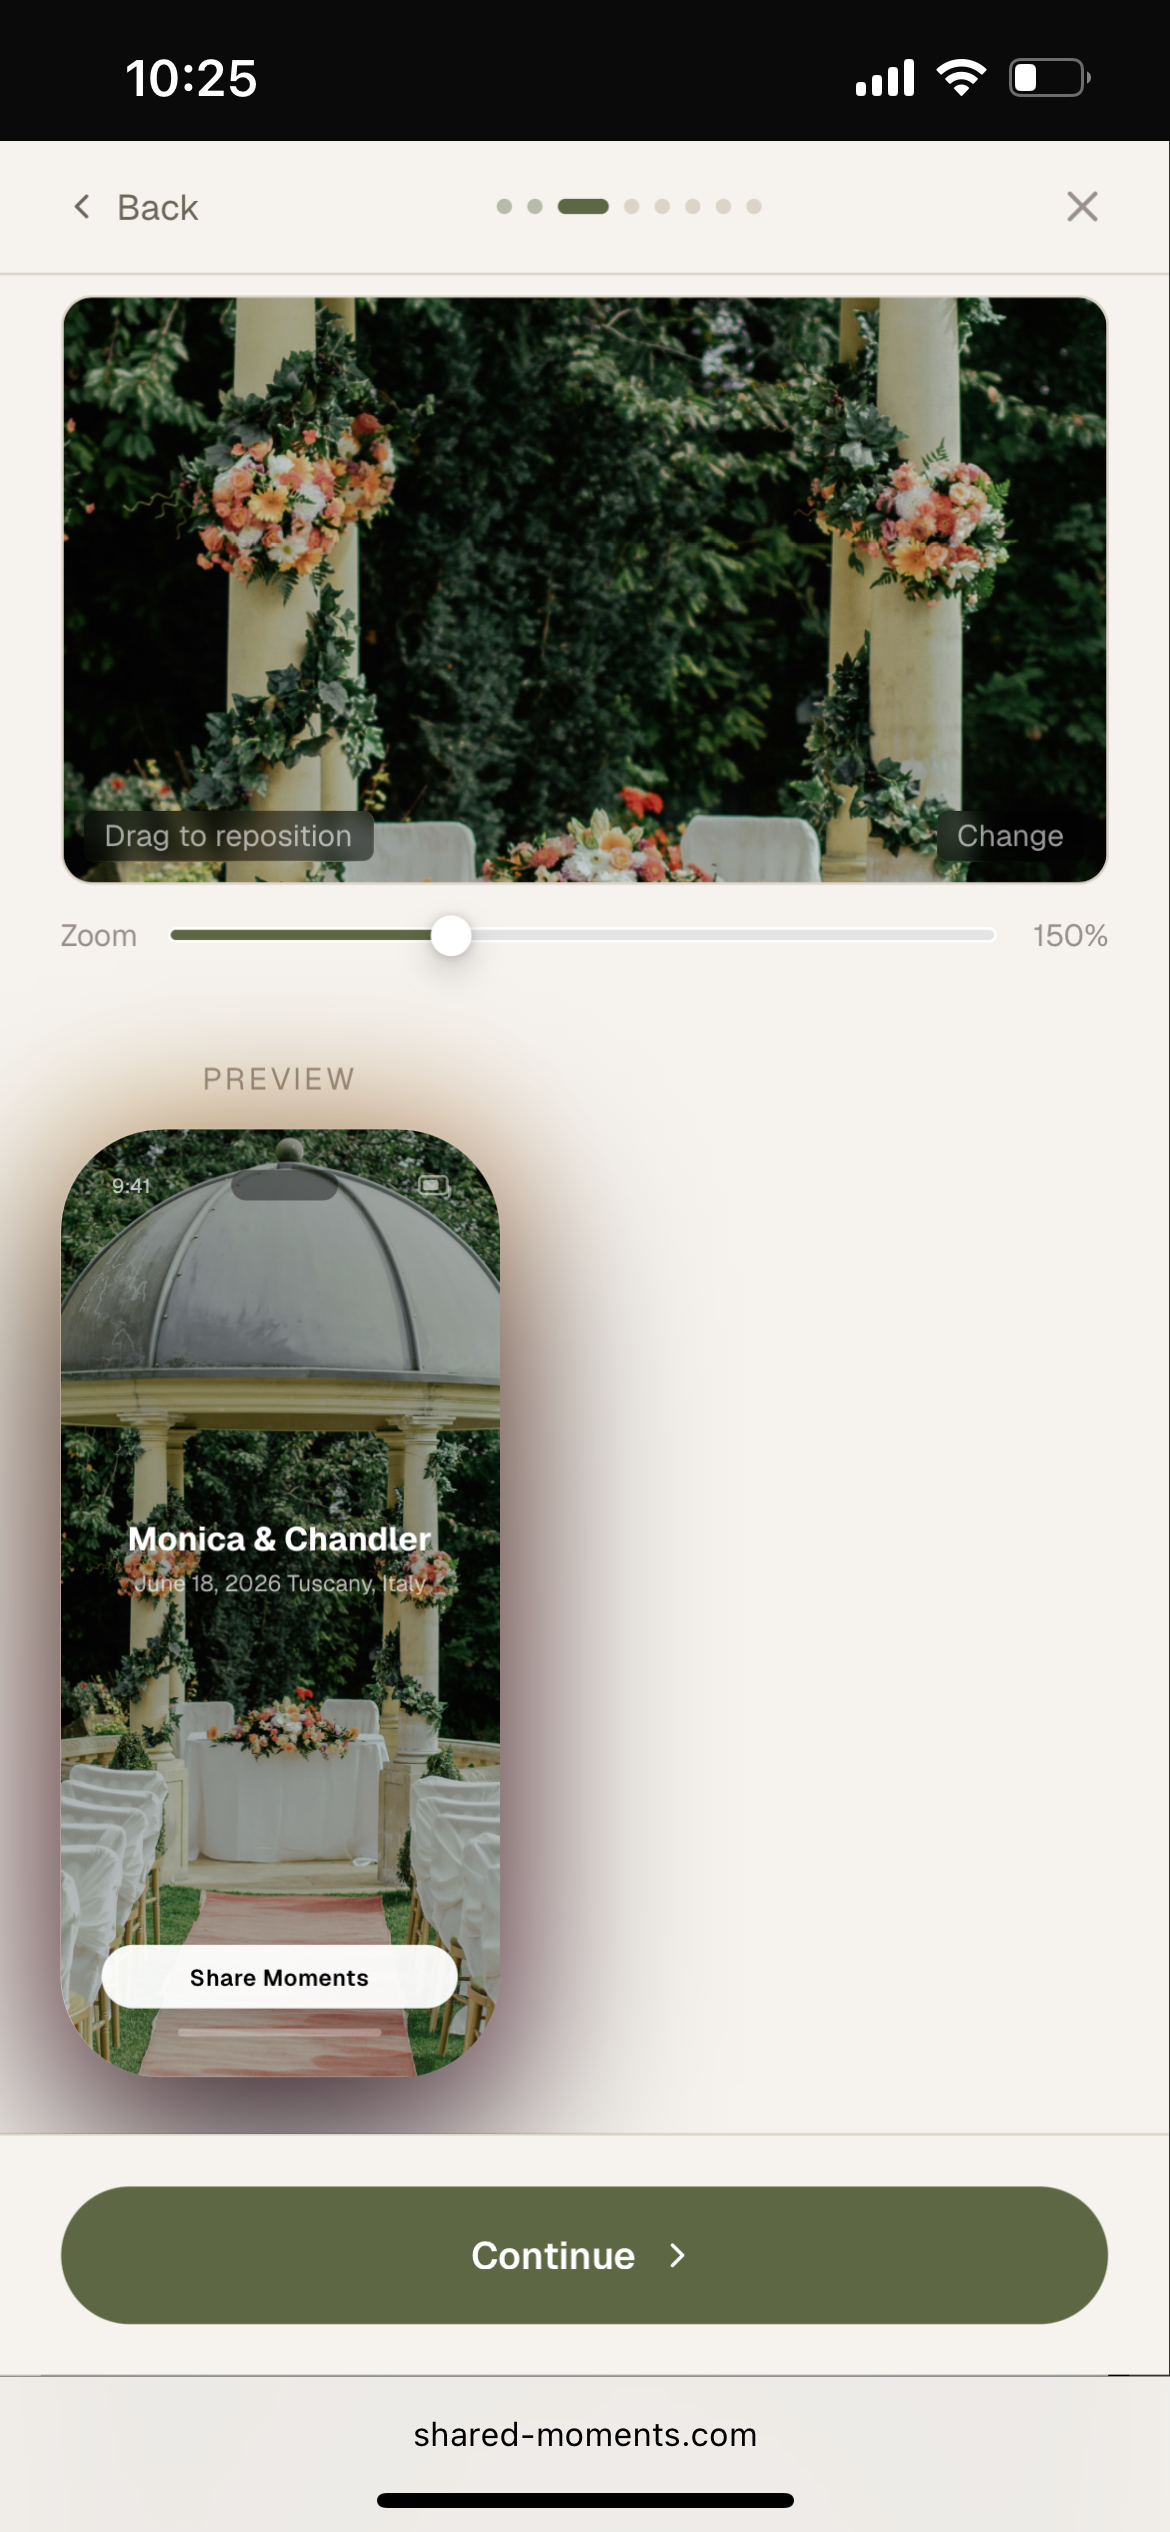
Position your cover photo
After uploading a photo, drag to reposition it and use the zoom slider until it looks exactly right. The live preview below updates in real time — what you see is precisely what guests will see.
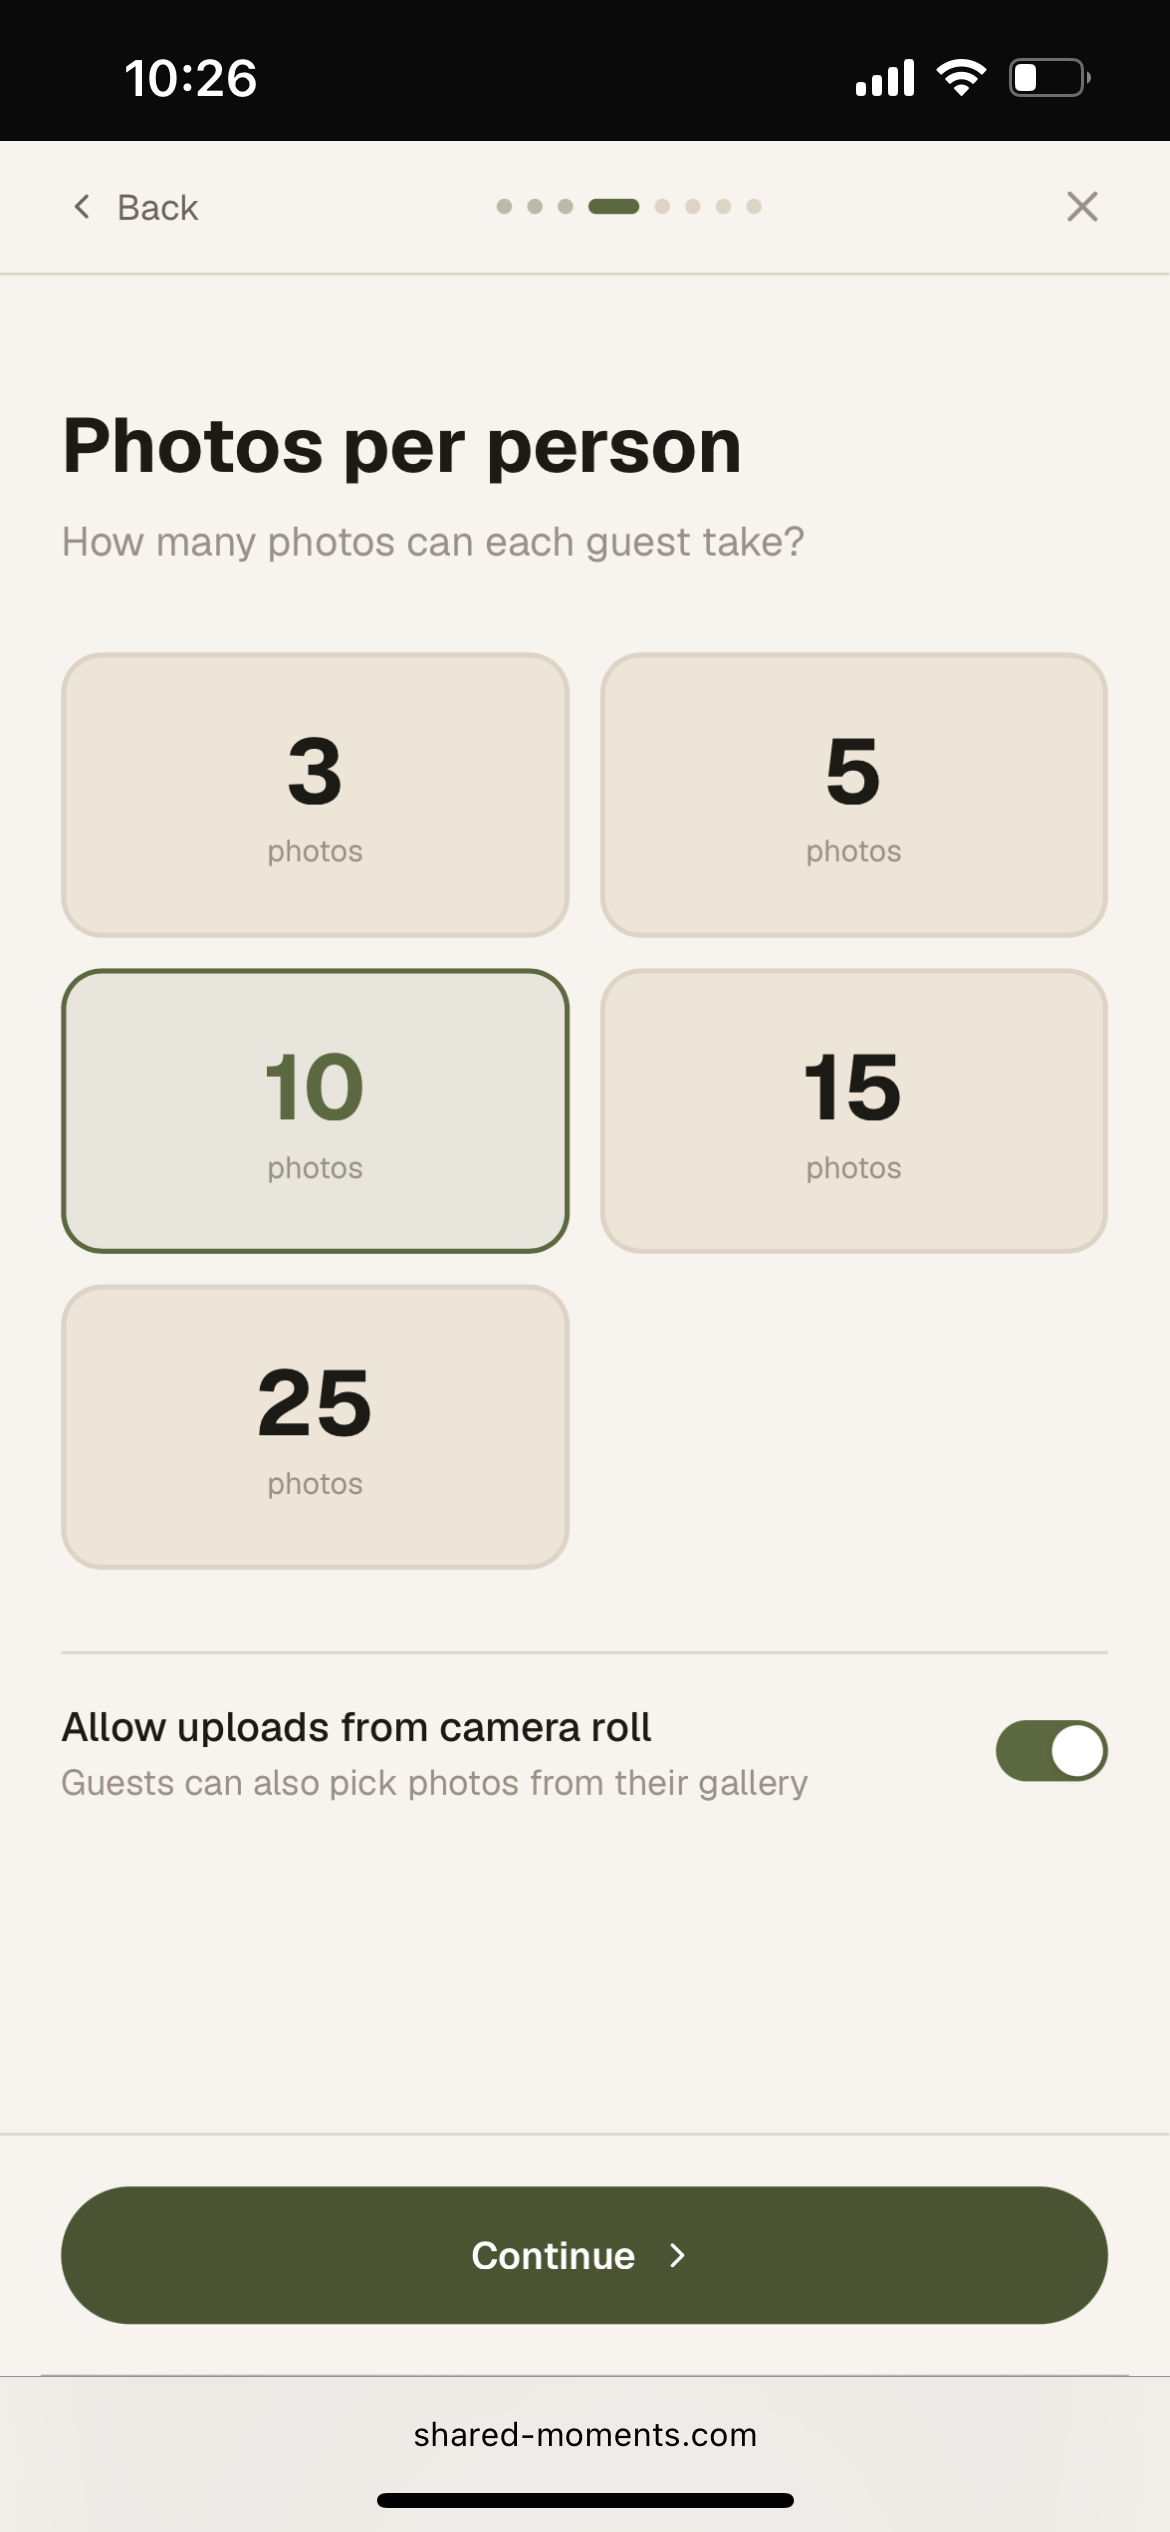
Set photos per person
Decide how many shots each guest gets — 3, 5, 10, 15, or 25. This gives your event that disposable camera feeling where guests have to choose their moments carefully. You can also allow uploads from the camera roll if guests should be able to share photos they already took.
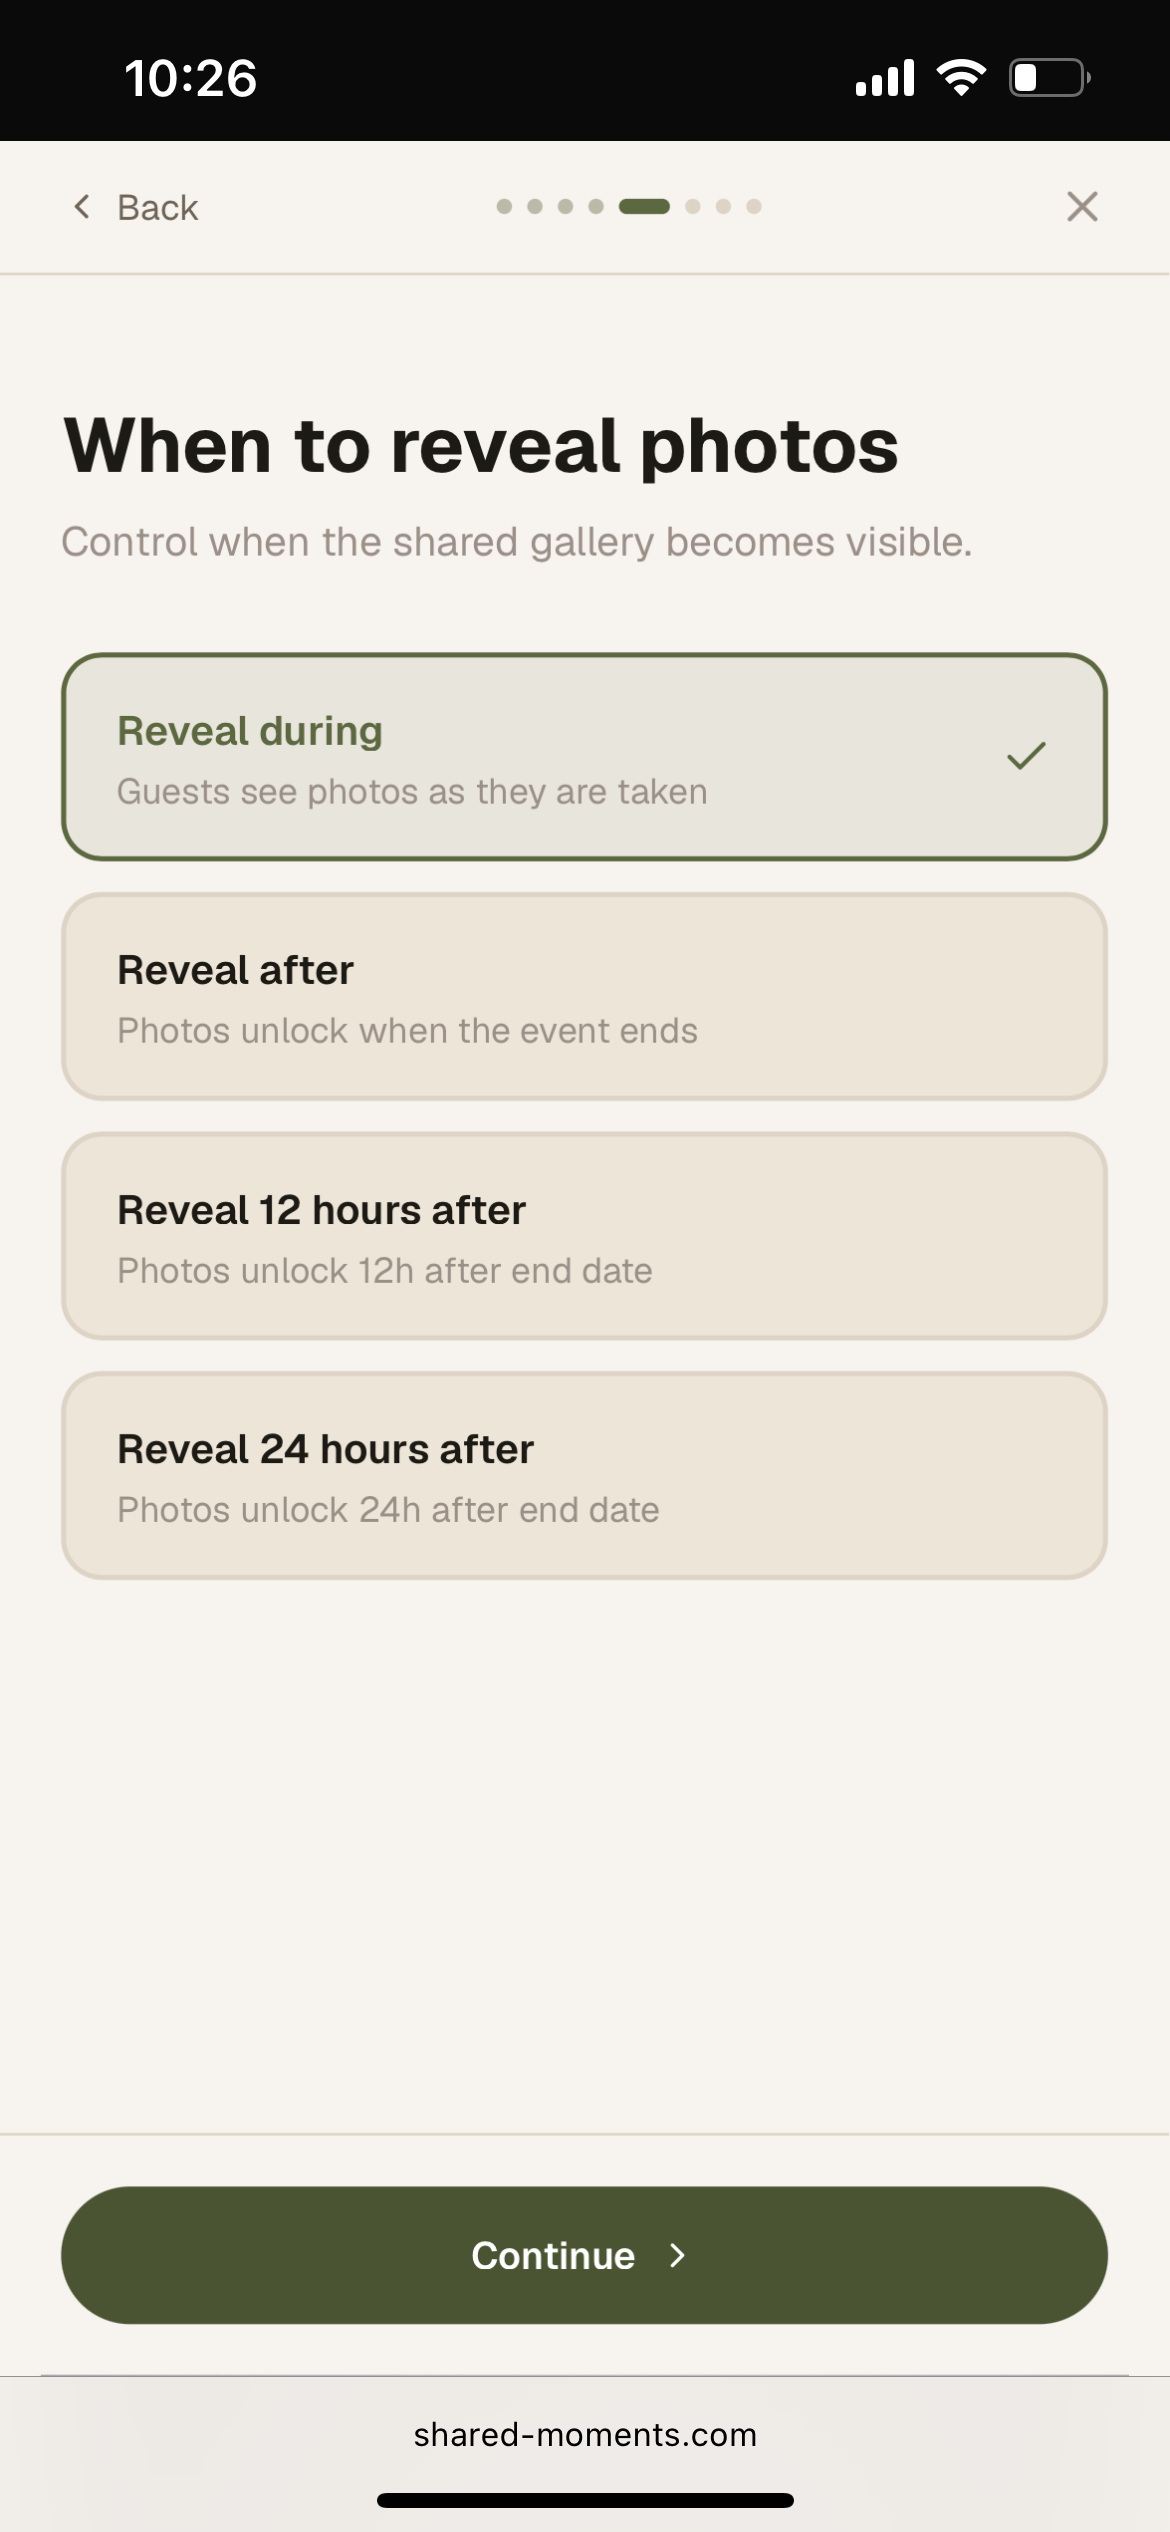
Choose when to reveal photos
Control when the shared gallery becomes visible. "Reveal during" lets guests see photos appearing in real time as they are taken — great for creating a lively atmosphere. Or lock the gallery until after the event for a fun big reveal.

Pick a photo filter
Select a film-inspired filter that gets applied to every guest photo automatically. From the warmth of Kodak Gold 200 to the green-tinged naturals of Fuji Superia — each filter gives your whole gallery a consistent, beautiful look.
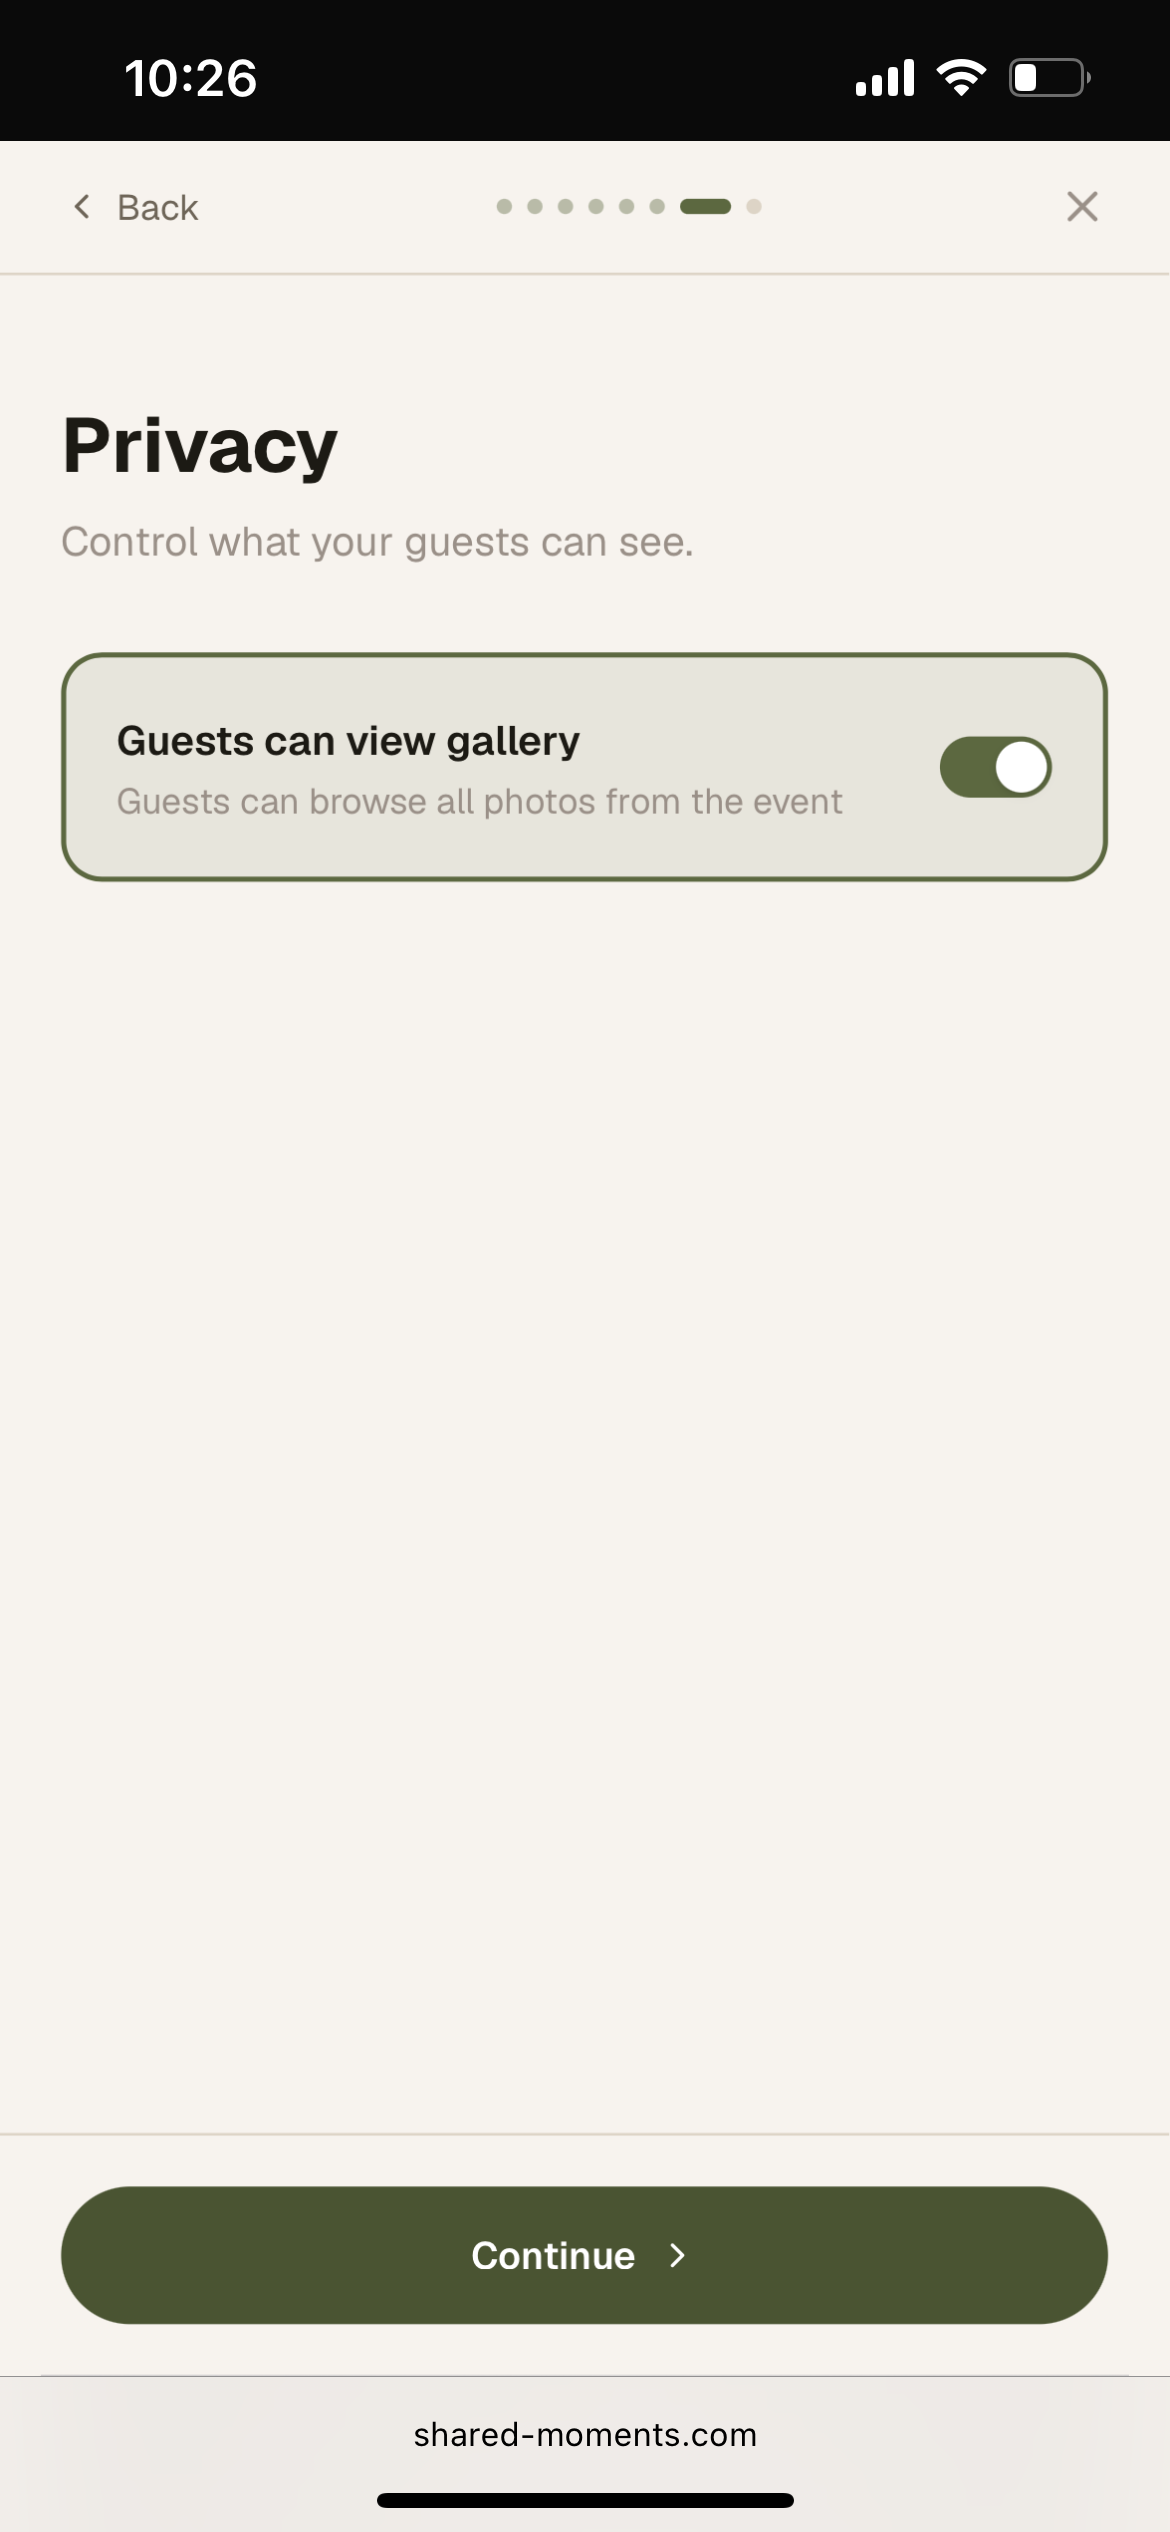
Set gallery privacy
Decide whether guests can browse the full shared gallery or whether only you have access. Leave it on to let everyone enjoy the album together as it fills up during and after the event.

Choose guest capacity
Select how many guests will attend. The total shots and price update in real time — the first 50 shots are always free, and it is just $0.09 per shot after that. When you are happy, tap "Create event" to save it as a draft.
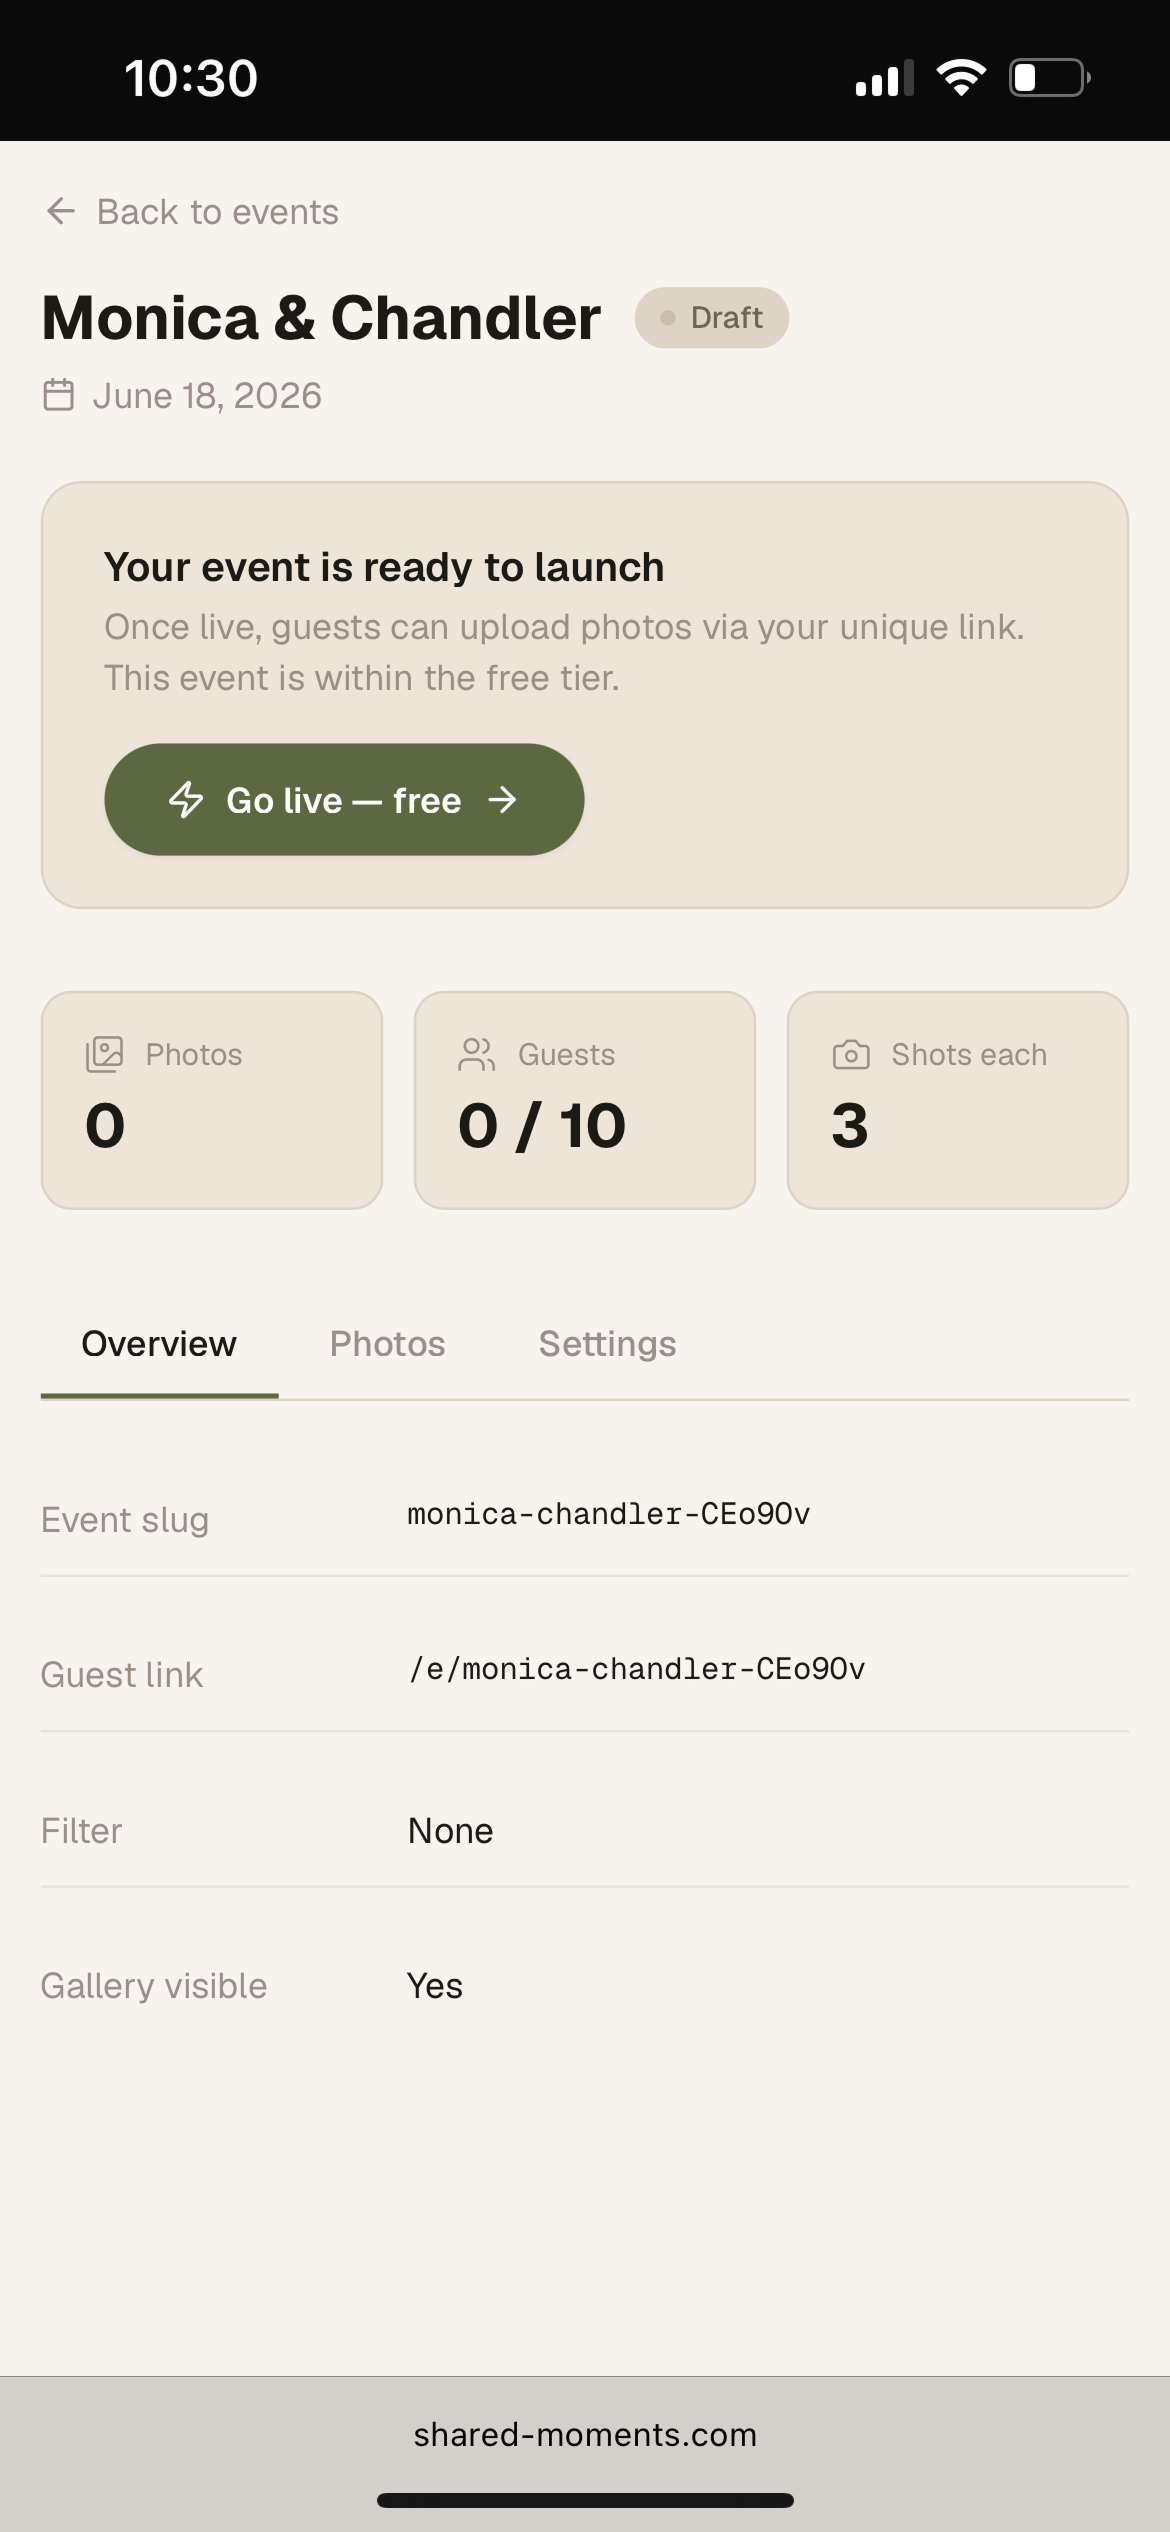
Go live when you are ready
Your event is saved as a draft first — nothing is public yet. When you are ready, tap "Go live" to publish it. Once live, guests can start scanning and uploading immediately.
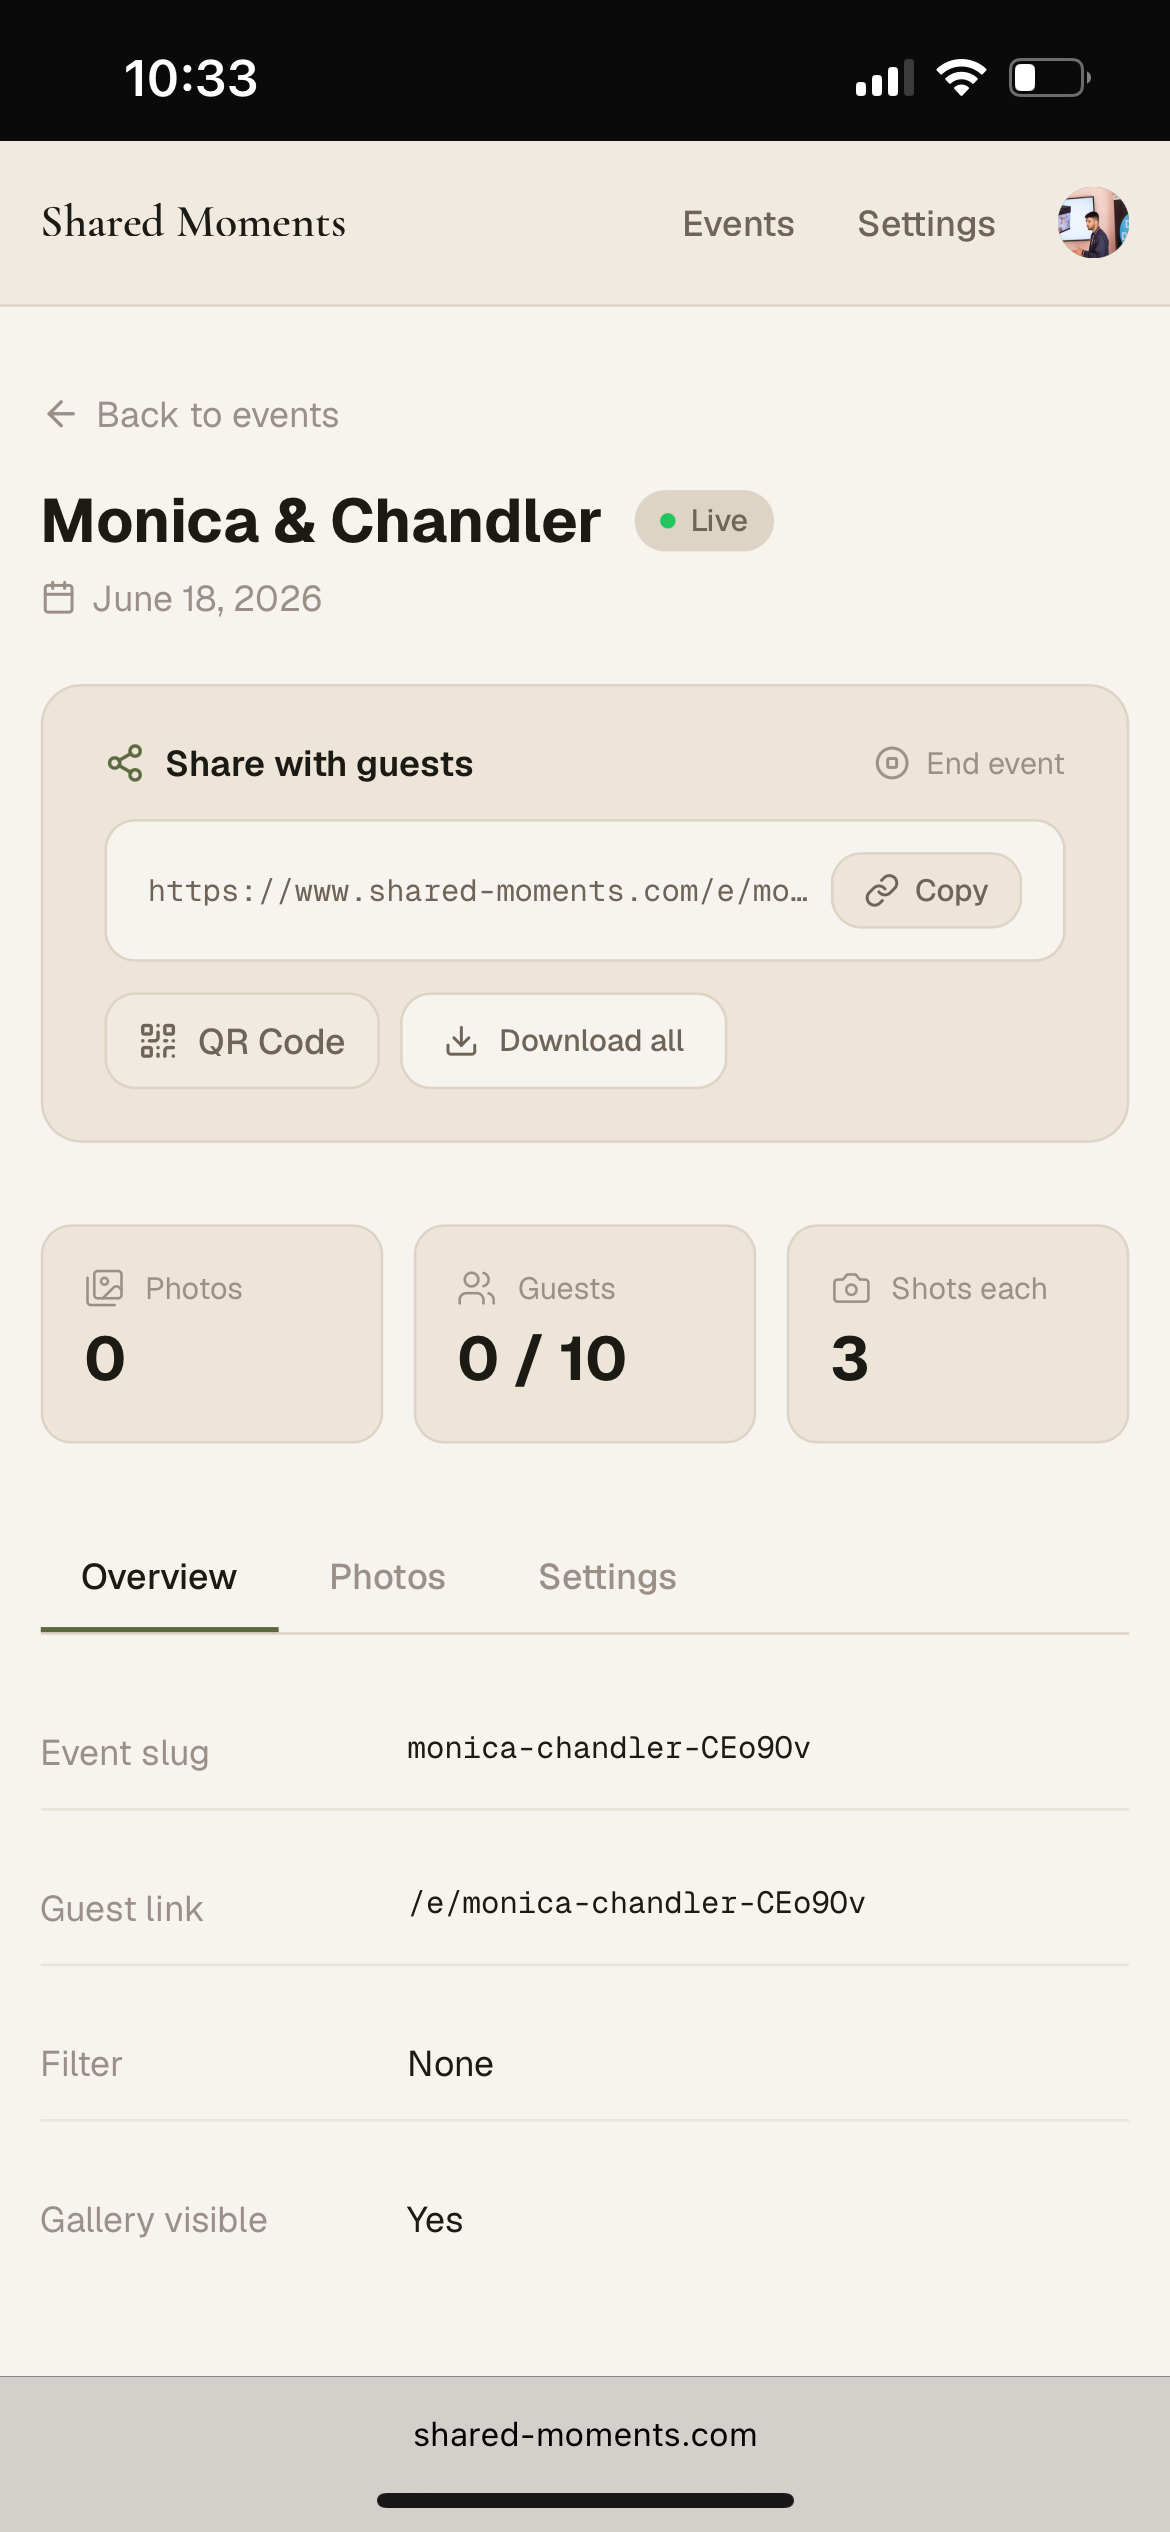
Share with your guests
Once live, your event page shows a unique share link and a QR Code button. Copy the link and drop it in a WhatsApp group, text, or email. Or tap QR Code to download it for printing.
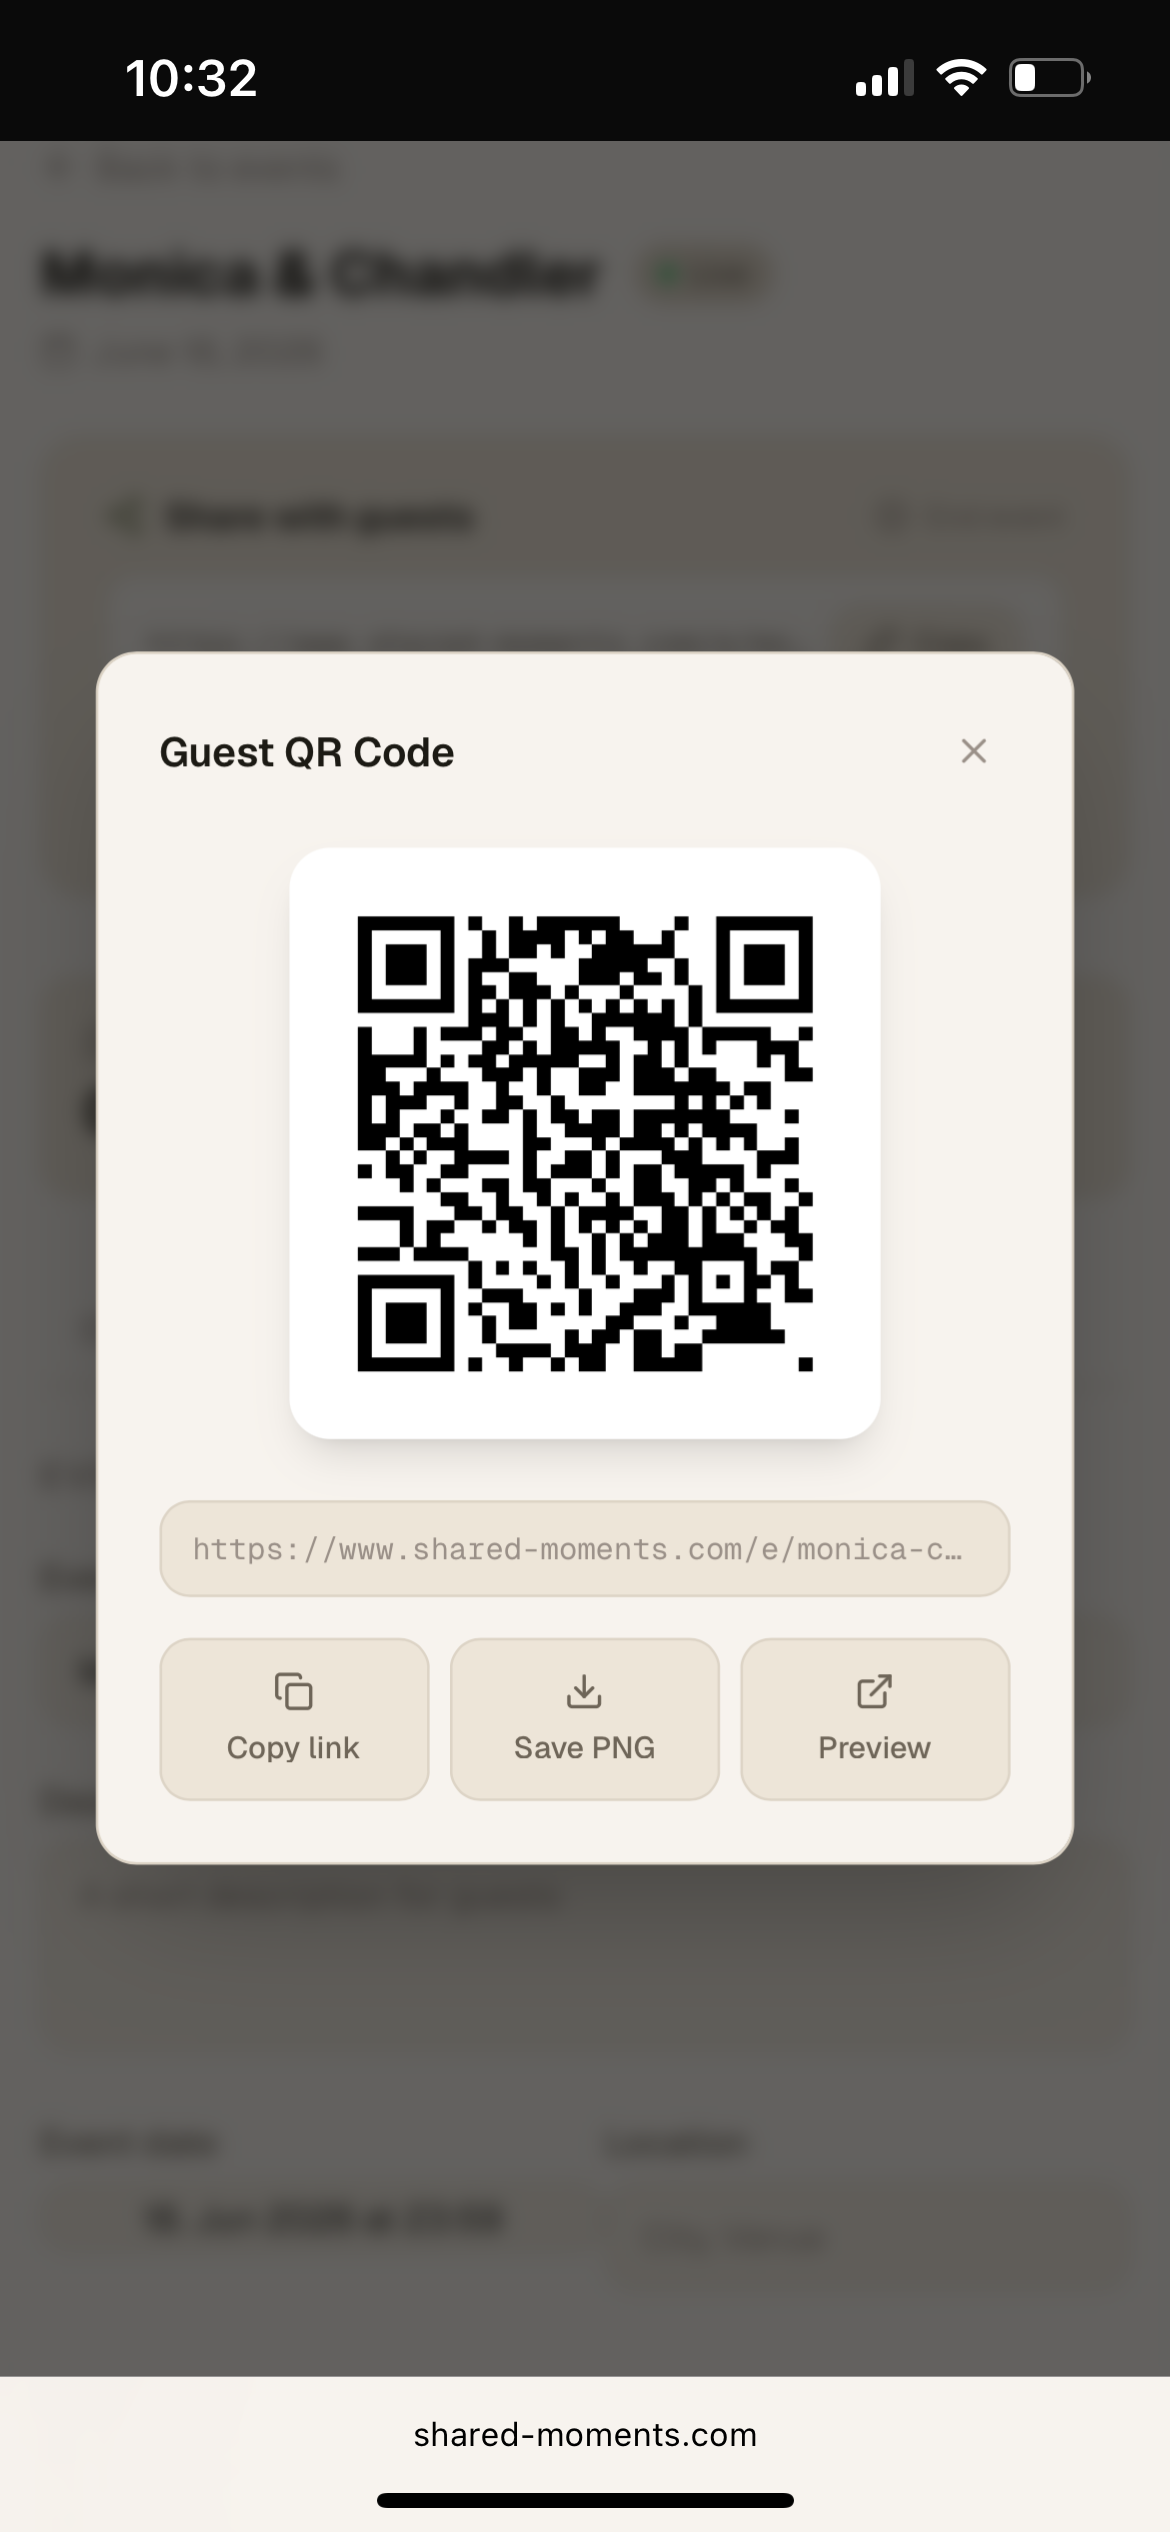
Download and display your QR code
Tap "QR Code" to open your event code. Download it as a PNG and print it on table cards, place cards, or a sign at the venue. Guests just point their phone camera at it — no app download needed.
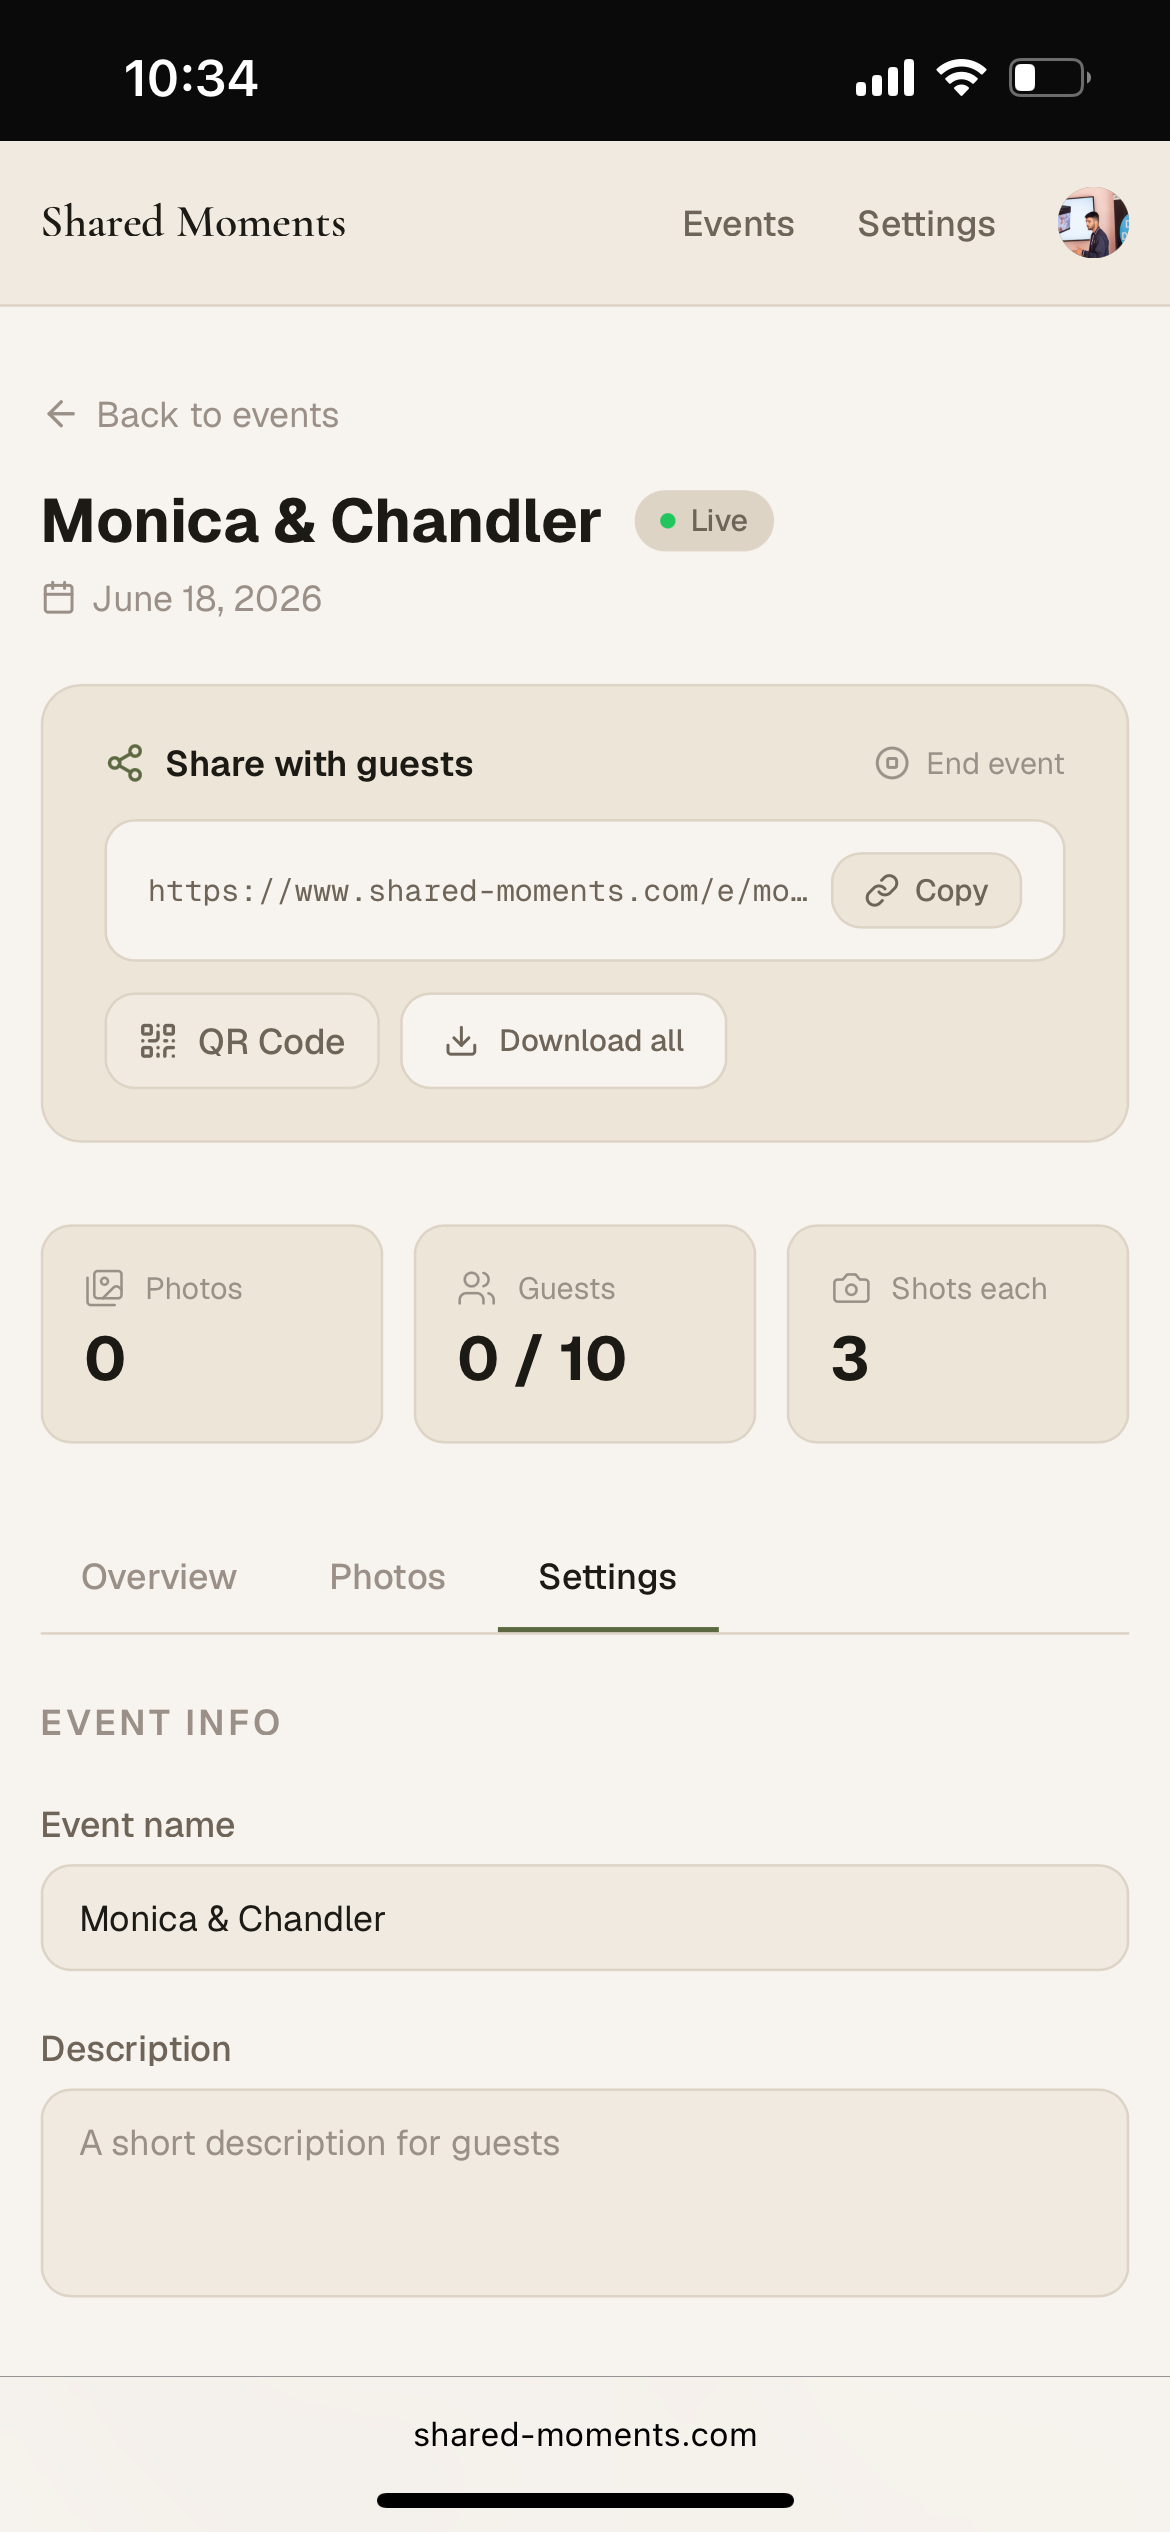
Edit settings any time
From the Settings tab you can update your event name, description, cover photo, filter, and more — even after the event is live. Changes take effect immediately.